|
|
Michael Drolet -- 2015 |
| Home | Reaper -- Digital Audio Workstation -- Intro |
| |
|
|
|
Michael Drolet -- 2015 |
| Home | Reaper -- Digital Audio Workstation -- Intro |
| |
|
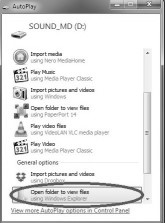
| When
you insert your "SOUND_YI"* USB key into a PC running
Windows, you should see a pop-up similar to
this. Click on "Open folder to view
files." (*YI -- Your Initials) |
 |
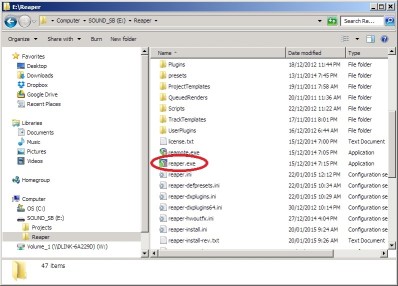
| You
should see at least two folders: "Reaper"
and "Projects". Double
click to open the "Reaper"
folder. |
 |
| Double-click
on "reaper.exe" to launch the program. |
 |
| Reaper may try to open the last project you were working on. If the drive letter has changed because you're using a different computer, you may see this message. Click on "OK" to dismiss it. | 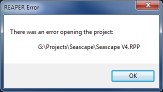 |
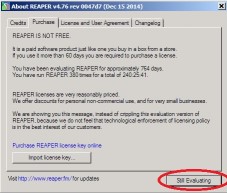
| Depending
on which computer you are using,
you may see this "nag" screen. Click on it and
wait until the "Buy Me" countdown is complete.
Then click "Still Evaluating"
to continue. |
 |
| The
Reaper screen is made of several sub-panels. |
|
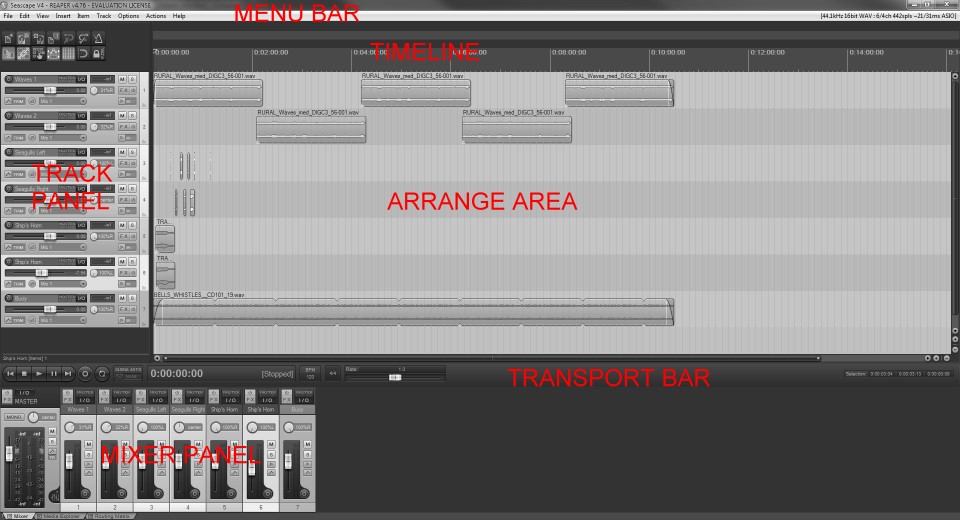 |
|
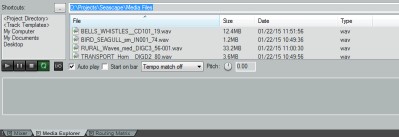
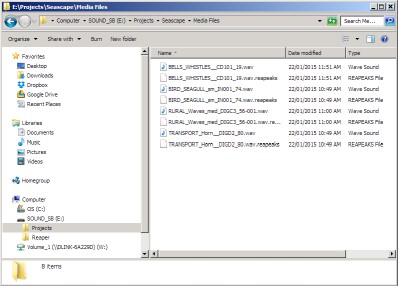
| Typing
CTL-ALT-X will open the Media Explorer Tab.
Browse to the Media Files folder for current project. |
 |
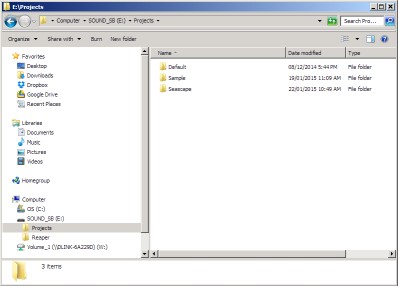
| Within
the "Projects" folder you should create a new
folder for each new project. |
 |
| Create
a new project in Reaper by clicking on the "New
Project" tool or by choosing "New Project" from the
file menu. |
 |
The
current project folder, contains:
|
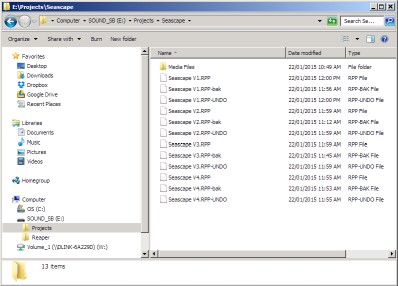 |
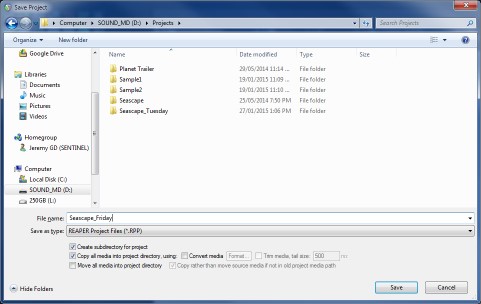
| Within
the current project
folder you should create a
"Media Files" folder to contain all the media items
for that project. If you check the box "Create subdirectory for project" in the "Save Project As" dialog box, this will have been done automatically. Media files are the "ingredients" Reaper needs for the current project.
|
 |
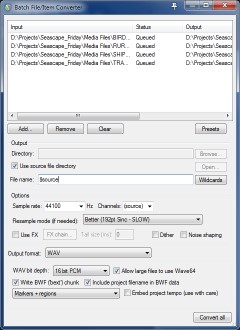
| To
ensure best audio quality, you should work with
uncompressed "Windows PCM Audio" files -- *.wav. Files downloaded from the Online Sound Library are in compressed, "lossy" "MPEG2 Audio, Layer 3" format, -- *.mp3. First download files for the current project into its Media Files folder, then use Reaper to convert them to *.wav format. This can be done using the "Batch File/|Item converter" from the Reaper file menu. Once converted to *.wav, you can delete the original *.mp3 files. |
 |
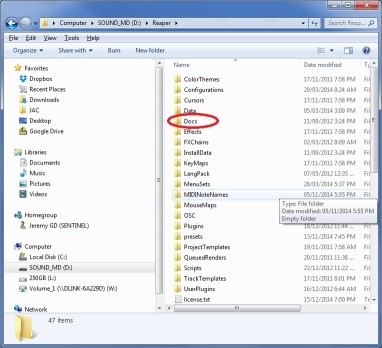
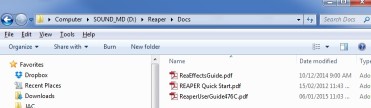
| Within
the "Reaper" folder are many
other folders. One of these, "Docs"
contains user
friendly
documents in PDF format. |
 |
|
 |